Add a location
Under Organization, open Locations and select New location. Give it a name and the right time zone, then finish its details on its page.
Each location has its own schedule and its own time zone, and every shift there is read in that time zone. Owners and operations administrators can add locations. A new location needs only a name and a time zone to start.
Create the location
- In the left menu, select Organization, then Locations.
- Select New location.
- In New location, type the name your team uses for the site.
- Check Time zone. It starts at your computer's time zone, so if the site is somewhere else, search for its city and choose it.
- Select Create location.
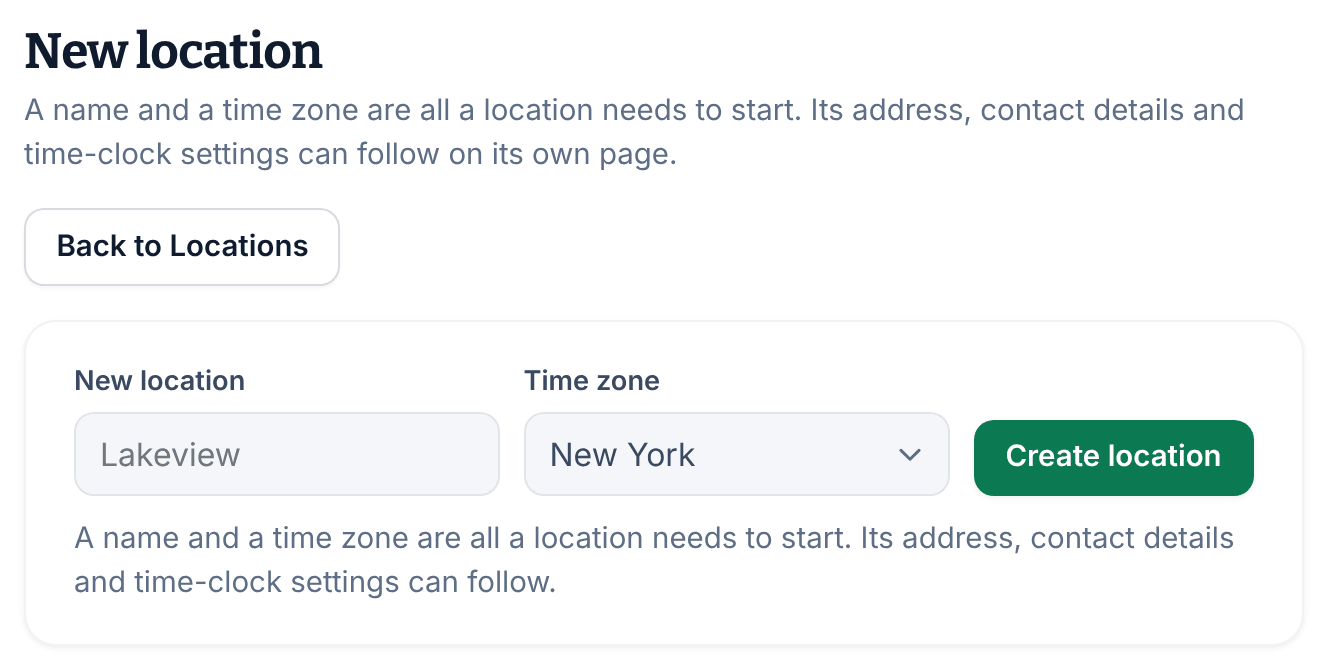
The location's page opens, ready for its address and other details.
Finish setting it up
- Add its address, map pin and contact details. See Update a location's details.
- Add the location to the record of each person who'll work there. See Change someone's locations and positions.
- If a location manager or assistant manager will run it, add it to the locations they manage. See Change someone's role.
- To check where punches come from, see Check where punches come from. For a shared tablet at the site, see Set up a shared kiosk.
Schedule the new location
The location appears on the Schedule straight away, with nothing scheduled yet. Build its week and publish it like any other: each location's week is published on its own. To work on this location alone, use Filters (the funnel icon) and choose it under Locations.
To share people between locations, see Schedule people at more than one location.
Was this article helpful?